Wakelet Part 2: Taking a Deeper Dive into Wakelet
In this post, we are going to be taking a deeper dive into Wakelet. We are going to be discussing ways you can customize your profile, collections, sharing options, and much more!
Sections
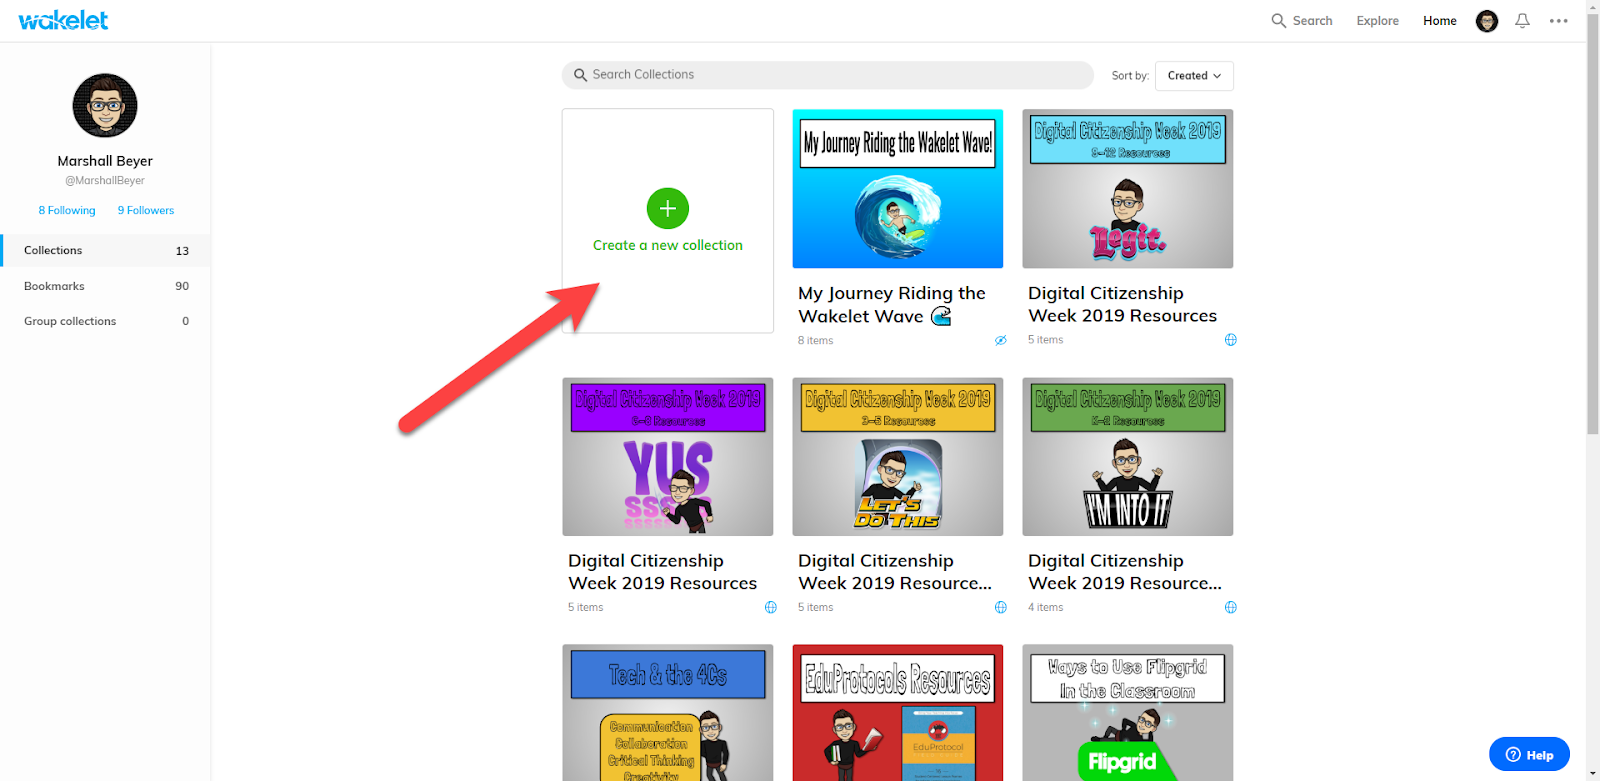
One way that you can customize your Wakelet profiles is by adding sections. This allows you to be able to organize similar collections. For example, on my Wakelet profile, I currently have 5 sections: DigCit Week 2019, G Suite, Hour of Code, Twitter of Educators, and Twitter Chats. By doing this, visitors to your Wakelet profile can click on a section and then it will only show collections in that section. To create a new section, first you need to go to your profile. From there, click “edit profile”. After that, you will see your sections on the left-hand side. To add a new section, click on the green button labeled “add a new section”. After clicking that, type in the name of your section and click add section. To then add collections to that section, while still on your profile in edit mode, hove over a collection and you will see a drop-down box that will appear. Choose the section, and then click move. You can go back and edit the name of sections by clicking in the box where the section name is located.
Viewing Modes
Another way you can customize a collection in Wakelet is by changing the viewing mode. This is something that has been constantly updating and the people at Wakelet have been adding new viewing modes. Currently, there are 4 viewing modes: Media View, Compact View, Grid View, and Mood Board. Media View allows you to display your content vertically in your collection. Compact View displays your content very similarly to Media view but the tiles are, you guessed it, smaller and more compact. Grid View allows you to organize your content in a side-by-side grid. Finally, Mood Board displays your content in a board view. My favorite is by far the Mood Board. I just love the way the content is layed out.
Different Ways to Share
So you have created your collection and you want to share it with the world! There are a few ways to share your collection. One way you can share is by clicking share when you are in a collection. From there, you will get the option to either post to Facebook or Twitter. You could also copy the link directly to the collection and share it, or take the QR Code Wakelet creates and add it wherever you like! If you are creating a collection to share with your students, you could post it to Google Classroom. When you post it to Google Classroom, you can choose to post your collection as either an assignment, announcement, or question. You could also embed your collection on a website or blog. You can customize the look of your collection like adding the cover image, light or dark mode, and much more.
One way that I share my Wakelet collections and profile is I have a link added to my email signature. That way, whenever I email someone, they will see the word Wakelet in my email signature and will be able to click on it and go straight to my profile. After adding this to my signature, I have received many questions about “what is this wakelet thing in your signature”.
Finally, when sharing a collection, you can change the visibility of your collection. There are three types of visibility options: Public, Unlisted, or private. Public is where everyone can see the collection. Unlisted is where only the people with the link can see the collection. Private is where only you can see the collection. I usually set all of my collections to public since I am sharing them with a large group of people but if you had collections students were working in your could set it to unlisted so only you and the students set a contributors have access to it.
Adding Contributors
When creating a Wakelet collection, you can add contributors. You can invite contributors by either typing in their name or email address or you can get a shareable link or code. The nice thing is that your contributors do not need to have a Wakelet account to contribute to a collection! All they have to do is enter the code you gave them to your collection, they enter their name, and now they are ready to add resources to your collection. This is a great feature if you are sharing a collection with students. Collection contributors can only add items, edit or delete items they added, and reorder the collection.
Cover and Background Images
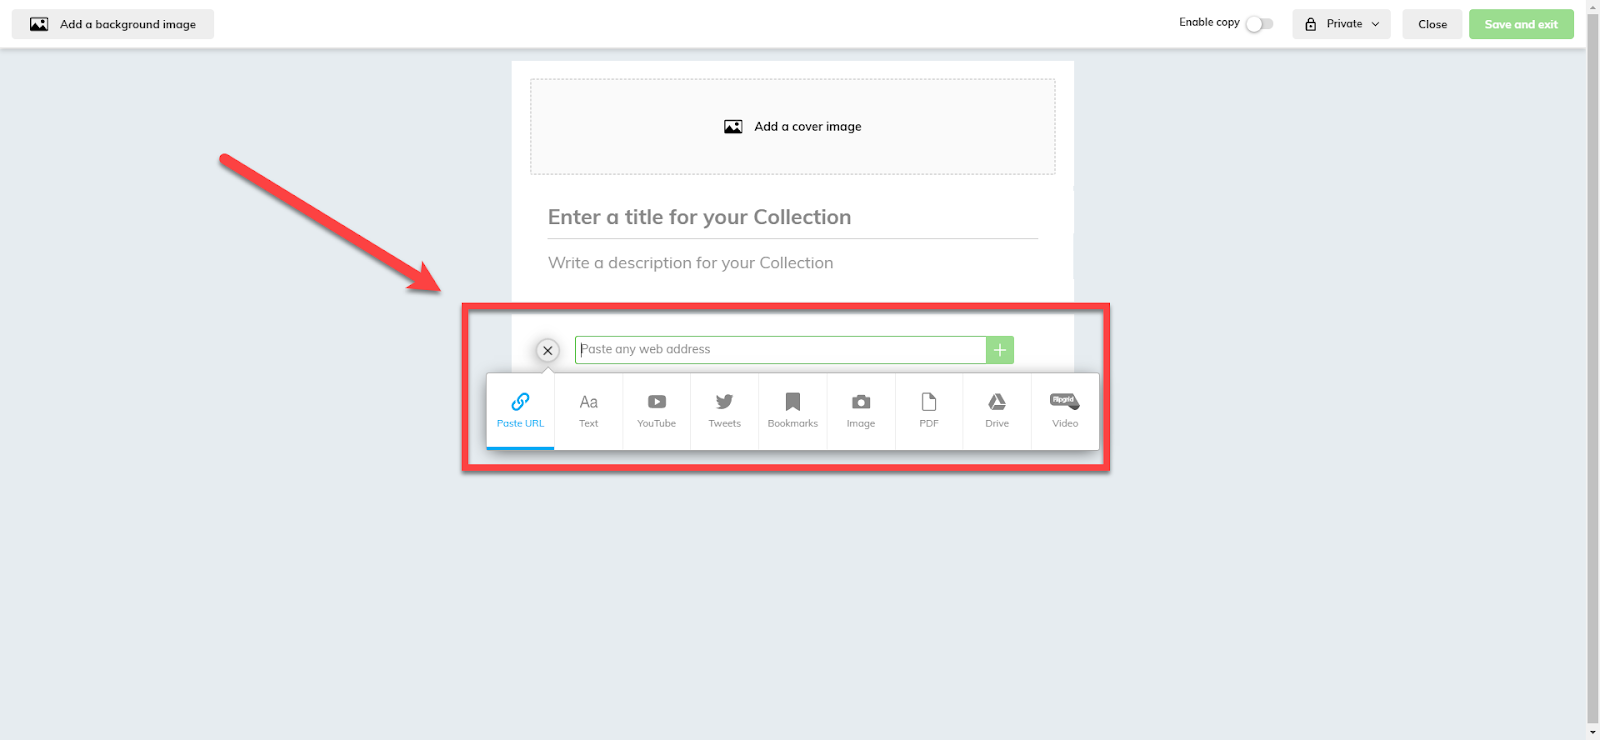
Let's talk about adding cover and background images to your collection. This is a way that I really enjoy customizing my Wakelet collections. All of my collections have a similar theme but can be customized to the specific collection. All of my collections have the same style of heading and I include a Bitmoji. I create these in Google Drawings, download as an image file, then upload to my collection. When adding a cover image, you can either have a full cover image, half cover image, or you can hide the cover image. Along with this, you can add a background image to your collection. To add a background image, when editing a collection, in the top left-hand corner, click on add a background image. From there you can either upload your own image or choose from library. These images all come from Unsplash. Which side note if you have not heard of Unsplash, you definitely need to check it out. It is a website that has beautiful, high rez freely usable images. All photos that are published to Unsplash can be used for free. Okay so you have clicked add a background image, chose library, and now all you have to do is search for a photo you want to use. Click on the photo and it will be added as your background image. From there you can click on change background image to either upload an image, choose from library, reposition the current background image, or remove the current background image.
Wakelet ebook
Finally, let's talk about the official Wakelet ebook. If you have not checked this out and you want to learn anything and everything about Wakelet, you have to check it out. I will link it in the show notes. This ebook is created by a group of awesome educators. I will link ll of their social media accounts in the show notes as well.